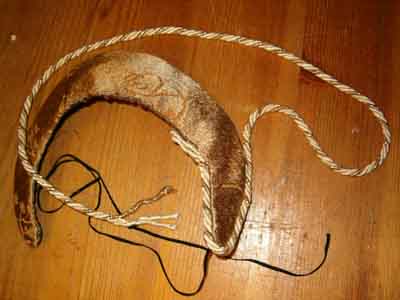
The coronett base: It can be done in buckram, plastic covered canvas, or any harder wowen material. The edges shall be covered by metall wire, all around. I used the type of wire that you use for the flowers in the garden, because it remains in shape after you have shaped it, it doesn´t curl up, and have a life of its own.
The veil: A very dark or black piece of cloth, made of tafeta, silk, satin, or similar. Mesaure between the center of the coronett, in the middle betweeen upper and lower side of the coronett, out to the tip shaped edge.X2. The total lenght is about 45 cm. ( In my case the mesures 42X50 cm for the veil)
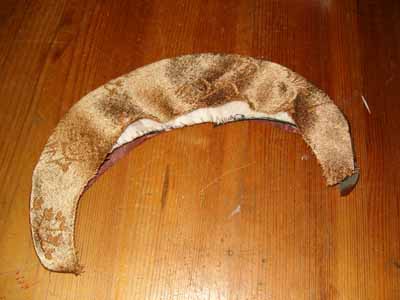
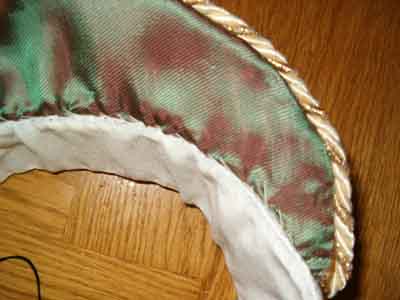
The coronett covering: The coronett is covered at the front whith a heavier cloth, and the back side with linen in silk. But the coronett peace that lies on your head has a backside covered with not silky cloth, because the hood shall not move around on your head, but stay put..
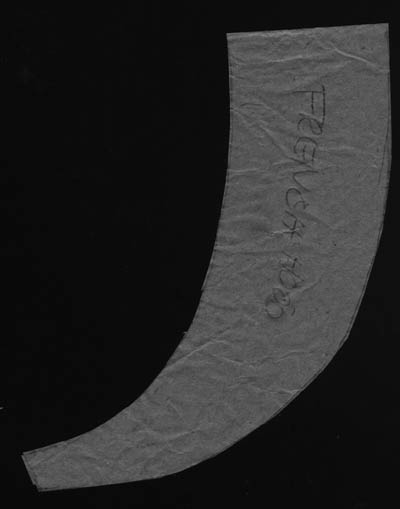
The upper cresent pattern, folded into half.
Outer cresent about 24 cm
tInner/lower cresent about 18 cm .
Width 6 cm.
The base is cut out without any extra interlining in stiff material
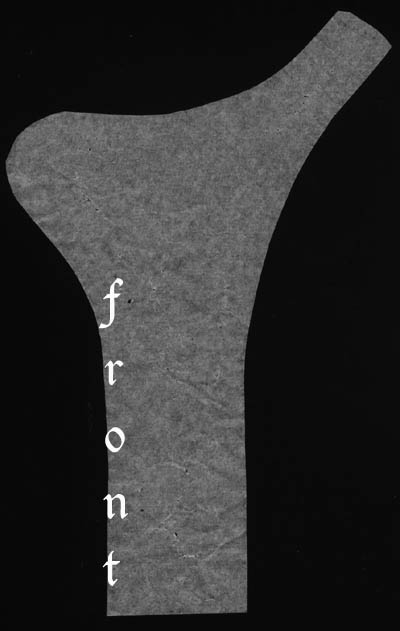
The lower coronett pattern( the coronett placed on the head)
This is the folded pattern
That is 5 cm broad at the folding.
The total length from the folded side is straight over it is about 25 cm.
The thick part is about , that later will cover your cheek is about 11 cm straight over from left to right, as the picture showes..
This piece is taken from a stiff material, and has no interlining and no allowance around.
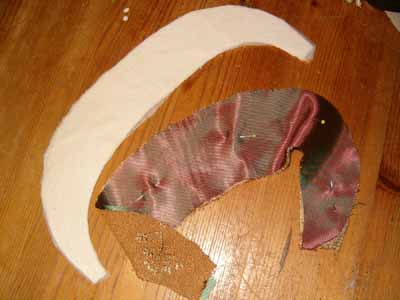
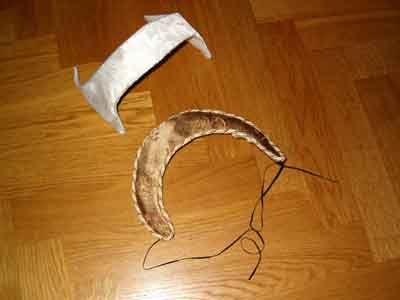
This is how the beginning parts looked
The upper cresent made from a stiff material without interlining. The covering for the cresent, made of a heavier peace of cloth for the front and silk for the back. Remember to include interlining for the cloth
Tha lower coronett

Wire wich the hat is covered with , The wire is covered with plastic and doesn´t have a life of it´s own. The wire can easely be formed in any shape, and are usually used in the garden around bushes and flowers. This wire is supposed to be sewed to the edges of the coronets, because it will help up when you form the shape to the coronet so it will fit your head exaktly.
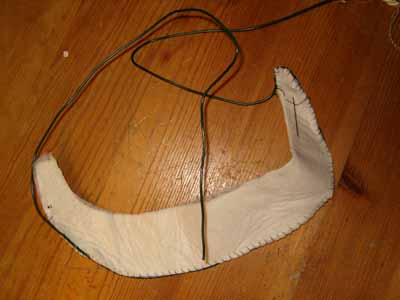
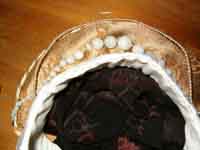
Begin a little bit in from the outer edge at the lower crecent, stich the wire to the coronet with small stiches
Ev you have to use a tool to form the wire at the edges. When you have reached the end make the wire wrapover. This will make the finish nice and smoothe.
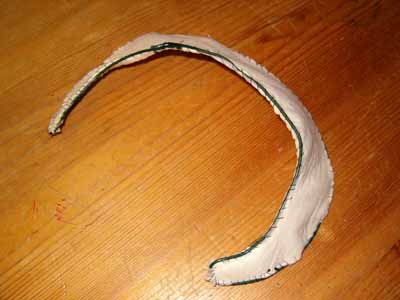
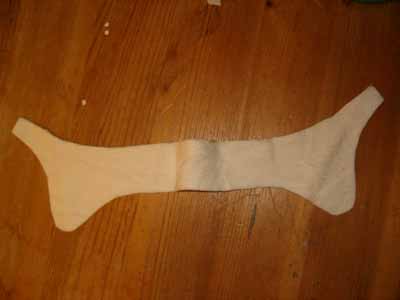
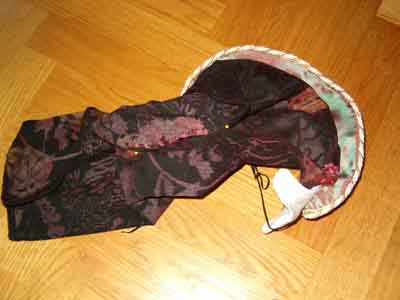
Theese are the two pieces before they are put together. As you have the wire around the edges you can easely shape the edges any way you want.
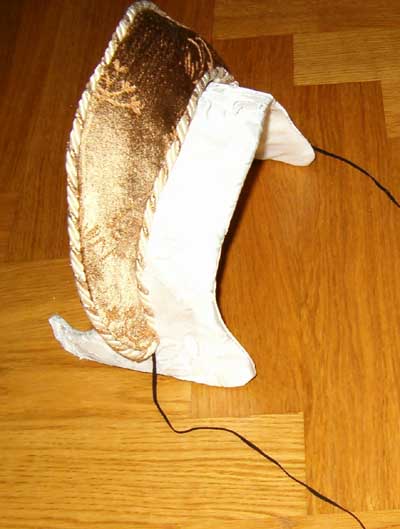
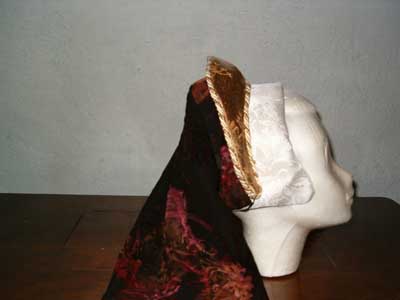
The two parts put together.
The upper corobnett is attached to the lower coronett by hand stihces along te the back edge. But the upper coronett end are put to the lower coronett part a little bit in. ( As shown in the picture above)
The veil are sawed around the edges. Fold the veil so that you can mark out the center of the veil, and attach it to the center of the upper coronett. The veil hand stiched to the coronett ( the side of the veil that has the coronett messures). The veil is fastened a littel bit down from the upper cresent, about 2½-3 cm down. Stich the veil to the coronett almost to the end, but leave the last 2-3 cm unattached to the coronett ( they shall be later on be folded around your hair when you wear the hood)
Turn the veil outside in and handstich the long side of the veil together so it will loook like a tube hanging down from the hood. Start to put it togethet about 6- cm down from where it is attached to the cor0nett, this will give you an opening where you can put your hair, and will help the hood to stay put on your head. If you as I have short hair, you can atach straps. to the edges. Pictures from the 16 century sometimes show this way of wearing the hood.
I played !!!
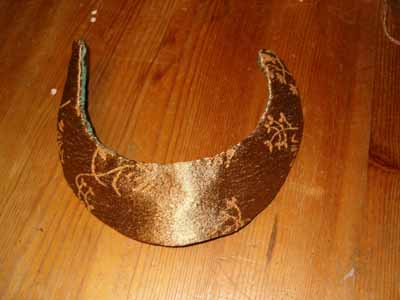
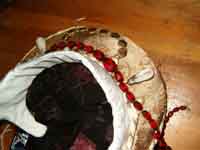
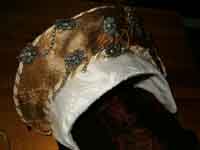
To get an idea of how it would look, I just took some pearlstring in different shape and color. Layed it on the hood and, just looked and changed the pearls and thought about what I wanted. The final result ended up with thee decorations in the picture at the right side above.
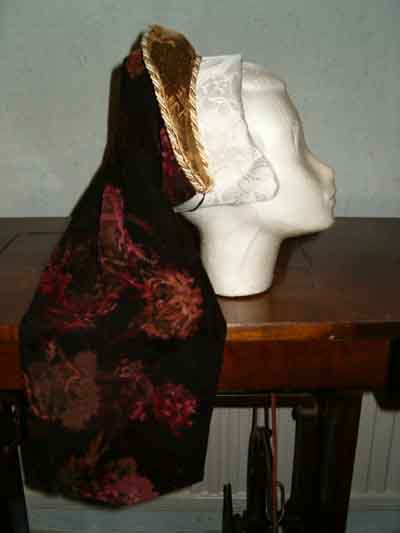
Not to bad I might say!! The wire helps up very much to form the shape just exactly as you want to have it.But the most incredible is that the hood stays put very easely,
Now the best part comes. To decorate the hood, with jewerelys and diamond out of real plastic!!
Things that can ease up tha wearing of the hood a little bit:
Attach a sicksack formed hair comb/pin under the lower coronet so that the coronet will hold on to your hair.
The linen under the lower coronett shold be of some nature material such as cotton, or similar. So thart it not will slide on your hair
Use harpins or hat pins.