Dress late 1500
It all begun with a piece of fabric!
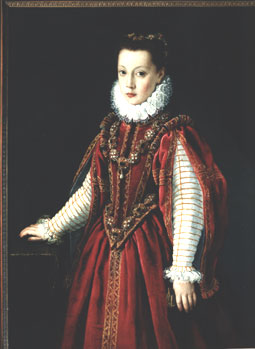
The portrait hit me as a lightning from a blue sky!
And suddenly it was all clear to me. I knew what to do with the beatiful piece of fabric.
Look at the arms!
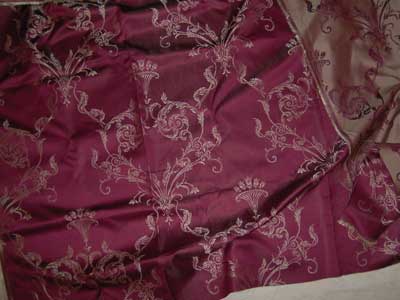
An piece of fabric so beutifully that I just had to buy it. I didn´t now what to do with it but I just had to buy it. And then I just stumbeled over a picture at the Internet. It all went clear and now I know what to do with the fabric!I just compose as I like and make something as I think it ought to look like, it will probably look allright at the end.
I found a picture at the Internet painted by an Italian renaissans female artist, wich is very rare to find female artists at this time her name is Sofinisiba.Anguissola.
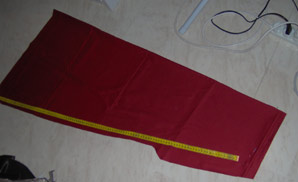
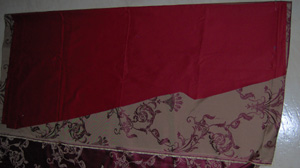
I thought and thought, changed my mind an thought again, looked at the web, collected fabric, bought a mink fur and looked around in my collection for left and handy stuff that I have in cupboards and boxes. Finally I do believe that I have material enough for a medieval dress. So I will make a medieval dress composed from all stuff I have found and from my own ideas.
As I don´t have enough of the beutiful fabric that I bought from the beginning I do have to make the skirt as Jennifer Thomson made hers at this sight.
Sofinisiba Anguissola
Italian
Mannerist Painter, 1532-1625
The dress contains of:
Chemise under all( it is not supposed to have a lot of width at the back or at the wrists because it will be to much fabric under the doublet that is supposed to be worn over)
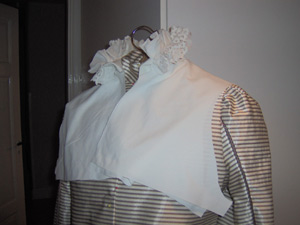
partlet with ruff or a standing collar with flounce at the neck opening..
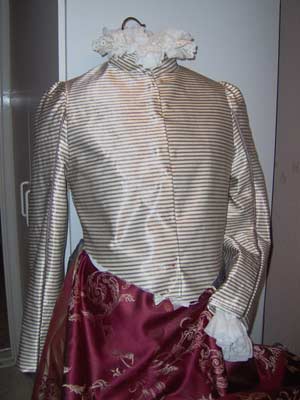
Doublet with a two parted arm, a doublet that is a little bit longer at the front than at the backside. Flounced edges at the wrists, that are supposed to easily taken off so that it will be easier to wash.
Bodice or jerkin, topp piece with skirt, over gown or what ever it is called, with hanging loose open arms. Some kind of surcoat.
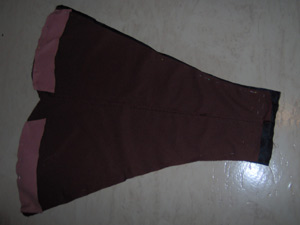
Skirt with the front piece made of a beatuful fabric, but the back can be made of any fabric.
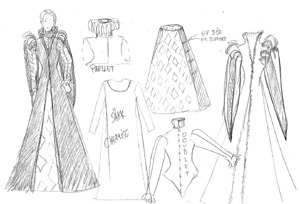
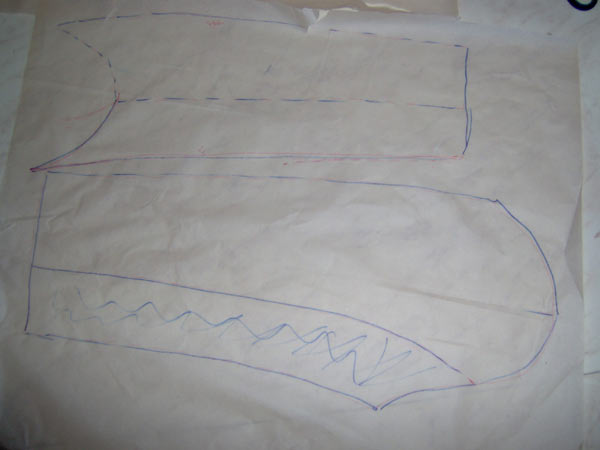
You can see all different pieces at this sketch.
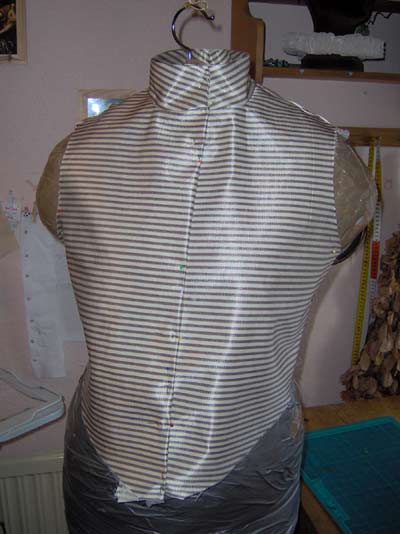
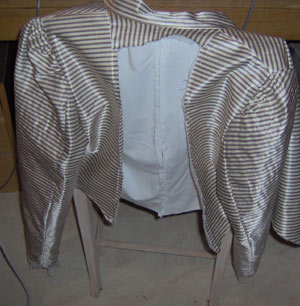
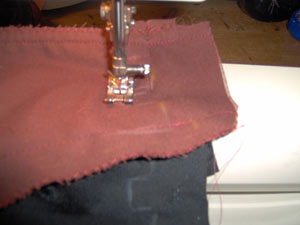
I started with the doublet.
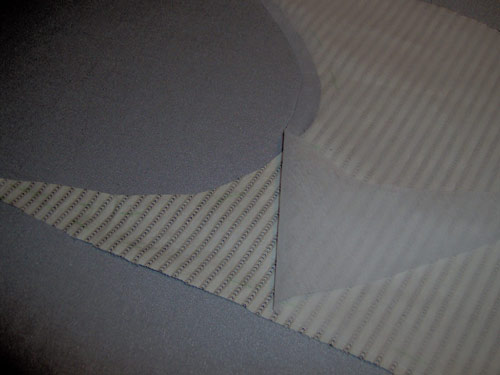
The lining are made from an old sheet, found and bought in a second- hand shop.
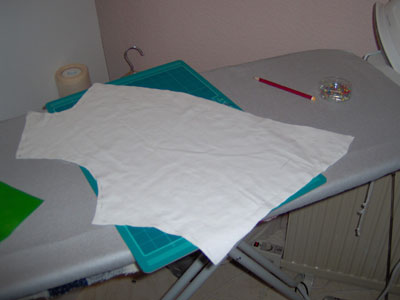
The doublet lining looks like a little jacket of it´s own!
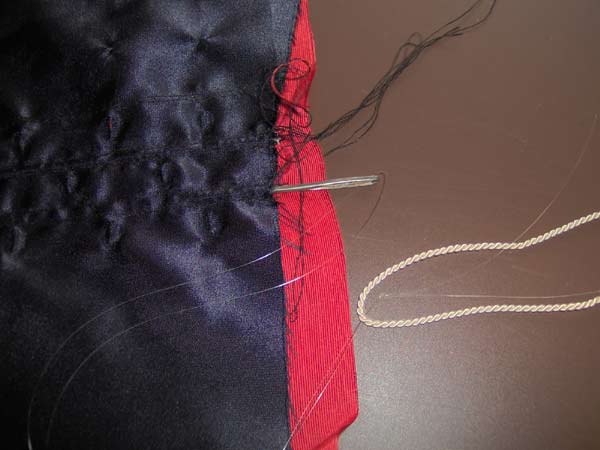
Well well sometimes I mark out just in case. If you have turned the collar upside down once, you do not want to do it again! The rounded side of tha collar are the downside.
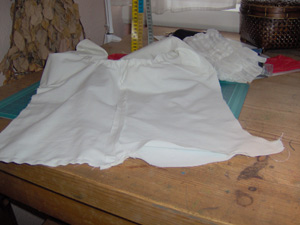
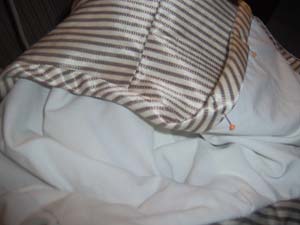
( The picture shows the partletcollar made from a sheet.)
Lovisa II
testing testing
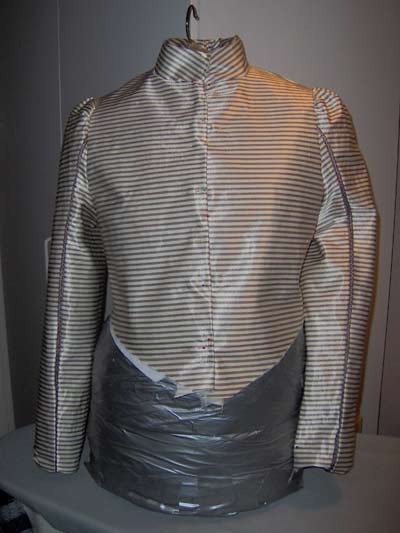
Not to bad! The doublet could be a little longer, but you can´t get everything in the world.
As the doublet is supposed to support the flounce at the partlet neckcollar I waited to adjust the lining into the doublet until all parts did fit together.
The arm a chapter of it´s own!
At firts I thought of buying a creamwhite silk fabric, for the doublet. I ended up with striped silk fabric bought in a secondhand shop.
It was supposed to be pinked fabric. Pinked= small cuts in the fabric made by a very sharp knife or scalpel. The small pinkes are ca 3 mm high and there are about 4 cm between the holes.
Does the fabric tassel when it is in use? Or when I scratch it?
Well if it is a better quality like duchesse silk, or similar it will be allright but, you better do a test first!
I very soon found out that my fabric was not good enough to be "pinked" the small holes wouldn´t be seen because my fabric had different colors of stripes. . So it was to much work for nothing. But at least I tried the pinking method.
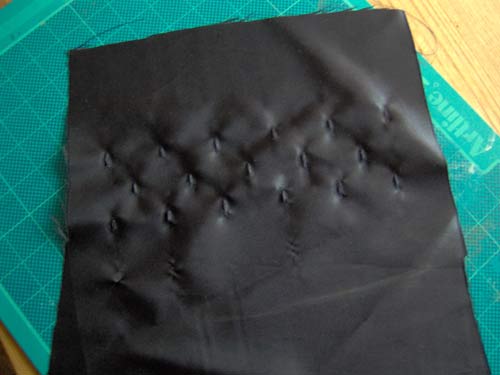
The next thing I tried was to do something called "trapunto" small channels in wich you let string run inside the channel. The easiest way to do it was to first make all the holes then make the channels by sewing to pieces of fabric together.
This is the way I put in the strings/cords.
A fishline was threaded in a big needle. I made a very large loop where I let the cord go inside the loop. I then put the needle in the channel and pushed it thru the channel and out in the other end. The cord followed inside the loop of fishline nicely all the way thru.
The channel will now stand up a little bit from the fabric surface. Very nice indeed!!!
Sadly this is another effect that doesn´t show because of the different colored and striped fabric.
Once again I desided not to use an decorating effeckt on my outfit.
Believe it or not, but I used the hem from an old curtain. The wristflounse are supposed to be washable, so it is just tacked into the real arm of the doublet.
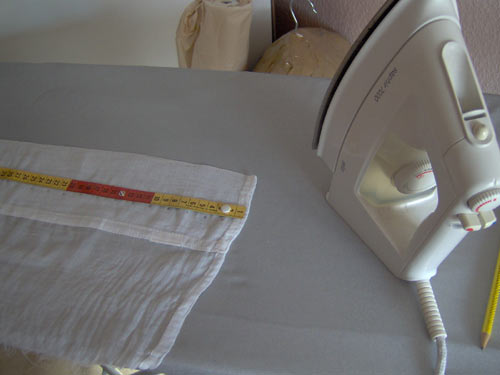
Begin by mesure about 2cm
( " 1 3/4") between the marks and do as on the "how to make a ruff" (dress accessoires.)


Well right now I do not know how the flounce are supposed to be fastened in the doublet arm, but I will figure it out later.
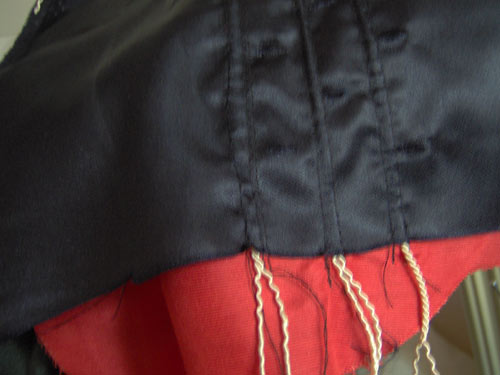
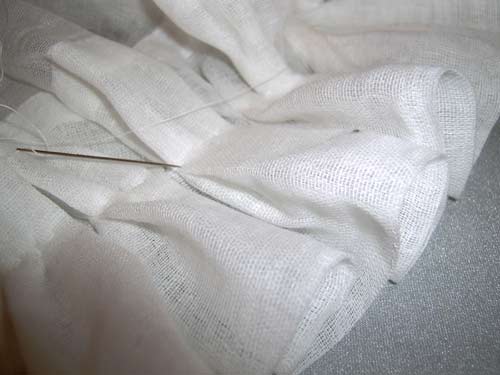
Partlet with flounce collar.
I used my fantasy and made something that I believe can work as a ruff at the neckcollar. I was to lazy to make a real ruff. To make it look like a ruff I made 3 layers of flounce and I believe that you will get the same effect as with a ruff.
As the partlet are supposed to be worn under the doublet it will be very unpractical to have tied strings in the sides!
So I made the ends at the sides longer and will adjust it by hand later on .
After the fitting turn it inside out and sew it toghether but leave a small opening at the hem so that it will be aesy to turn it all over again and hand stich the short piece of hem that are unsewed
The sides are sewed toghether by hand.
Something like this!!
It is just pinned together on my dummie to check
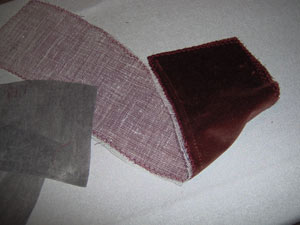
Here I stopped sewing for a while because I coldn´t find the right velvet fabric, but I started again after a couple of weeks as soon as I found my velvet.
This is the velvet that I am going to use!

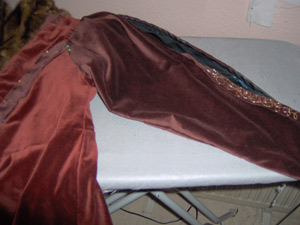
The outer loose-hanging velvet arm are supposed to be open at the front, and a little bit puffy at the shoulders.
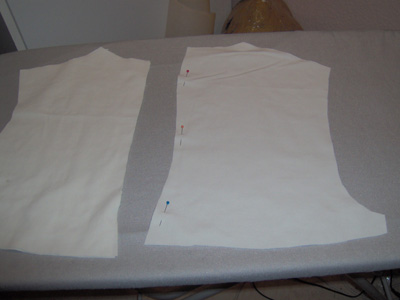
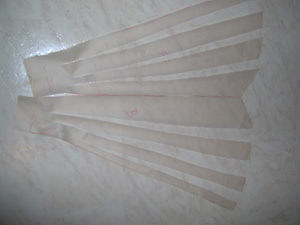
I had to do a pattern for this arm from an ordinary arm pattern. What looks as the sides at this picture is actually the opening at mid front at the finished arm.You can see midback in the middle of the pattern.
I have bacome fat!!!! The doublet feels to small!!
I took away a piece midback and sewed a larger midback piece to make the doublet larger.
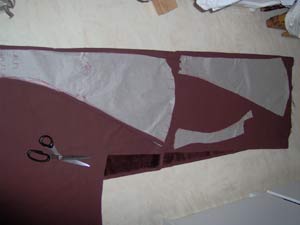
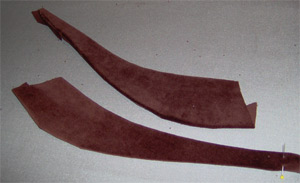
When I bought the velvet fabric there wasn´t enough fabric in the same color so I had to buy two differnet shades of colorer in two pieces. So I just had to compose the dress after how much fabric of the same sort I had.
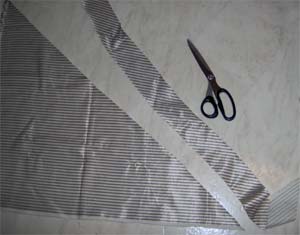
Once again I used the floor to lay out the pattern and cut.
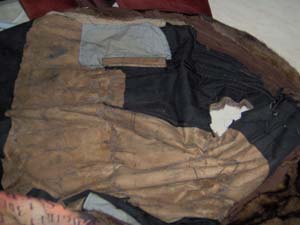
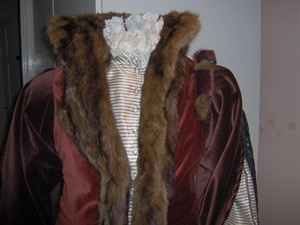
Fur-slaughter
In a secondhand shop I bought an old mink fur it costed about 100:- (ca 10 euro)!!.
I will take away all lining. I will most probably only use the front and the collar.
Something like this!
After cutting fur I pinned the front fur to the dress I just had to see what it looked like.
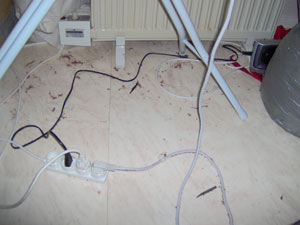
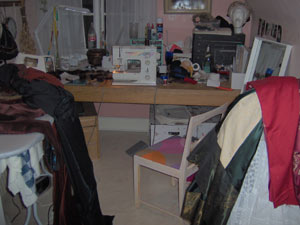
This is a picture of my floor. Be prepared to that this is a job that produces a lot of hair on the floor and small pieces of fabric.
( in fact all over the house.)
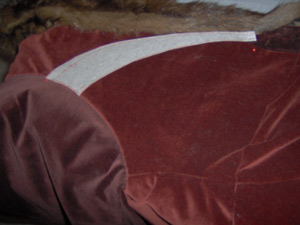
My very nice front edges in the darker velvet are hidden behind the fur. So I decided to make some kind of extra design(application on the bodice because otherwise it looks funny and not natural that I have arms in a different shade of burbonred velvet, and nothing moore in that shade of color.
I took a piece of paper and made the pattern for the application directly on the bodice.

At first I had some kind of idea that the application ought to be emrodiered in gold, but that just was a little to much. I decided that the applications where to be plain to look sofisticated and clean.

The shoulder or armrolls.
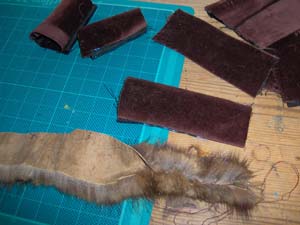
The rolls are made in velvet ca 6X8 cm and have vliselin at the backside.. Make a long piece of velvet iron on some vliselin and add the lining. make a long tube by sewing at the longside turn it over and cut into shorter pieces as long as you want the rolls. Handstich the ends.
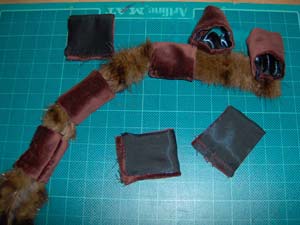
Take a long piece of fur, stiched together at the longside and thread the rolls of velvet on the fur.
Well that´s it!
Something like this maby?


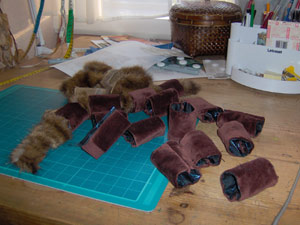
By this time my sewingroom looked like shit! Fur and fabric all over.
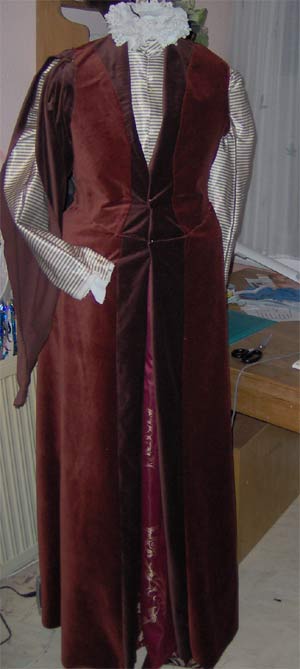
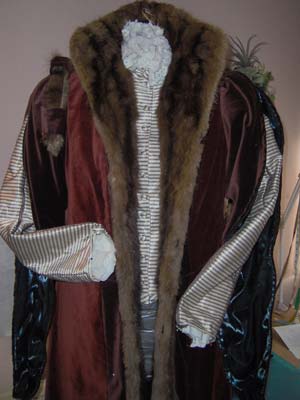
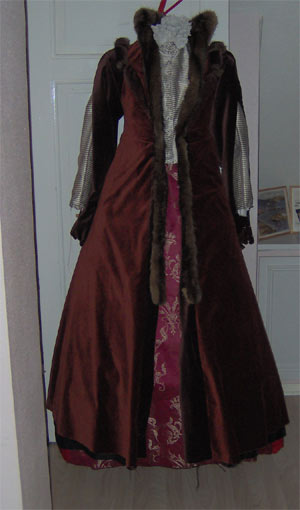
Well well this dress became heavy to heavy to hang on my Lovisa II at the hook in my ceiling. I was afraid that the hook would come down so I had to hang it on a door insted.
As far I have a skirt and (a fartinghale since before) a partlet, the doblet and the velvet overgown.
The flounce for the arms are just supposed to be hand stiched into the doublet arms. The hem at the velvet gown will get fur and the headwear will be made as soon as possible. I have thought a lot about the headwear and soon found out that it should be a simple thing because I have realy tried my best to make the dress outstanding beatiful, and I certanly not want to spoil the first impression with a headwear that is taking away the focus from the dress.
A "zibbelini" I just have to have that!! A Zibbelini is a small dead animal hanging in a chain from the waist
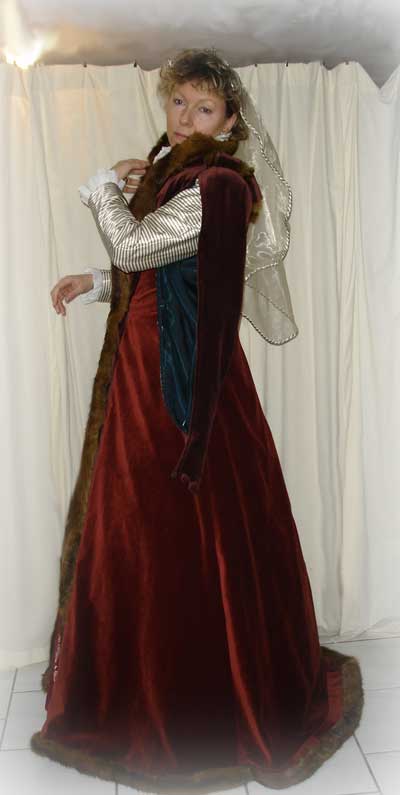
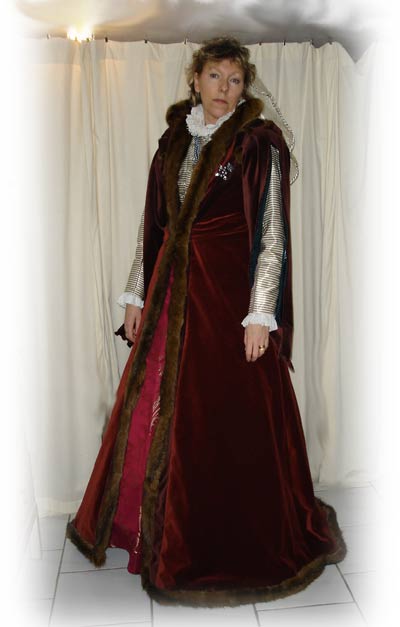
16/1 2006 that is the day when I took the last stiches on this dress. It took me about 4 monthes to make this dress and I enjoied it all the way
I just want to add that I never thought I was able to do such a beatiful dress!! I am really surprised. But I suppose it is like cooking if you have the best ingredients it is hard to faile. Fur will allways look great and together with beatiful fabrics you will most certanly allways get a good looking result.
Lady Lovisa af Tallkotten
 |  |